Last updated November 18, 2026





Free written scope consultation - allowances, timeline, and change-order rules on paper before a single trade is scheduled
Bathroom Remodeling Warning Signs Every Homeowner Should Know
The most expensive mistake in a bathroom remodel is one you’ll never see. Waterproofing membrane goes up behind the cement board and under the tile, which means a crew can skip it entirely, tile right over the gap, and hand you a beautiful room that fails quietly. Water finds that omission about two years later, usually as a soft spot near the shower curb or a stain spreading across the ceiling below. In Henderson, where we’ve torn out plenty of failed showers, the pattern is almost always the same. This guide walks you through the correct order of work, the moments to inspect before things get covered up, and the red flags that show up while the job is still open and fixable.
Quick Answer
The main warning signs of bad bathroom remodeling are skipped or rushed waterproofing, work that moves forward without inspections, crews who leave your home unprotected and dirty, and a final walkthrough where uneven grout, caulk in the wrong places, and loose fixtures get waved off as normal. Catch these while the walls are still open and before you release final payment, and most problems cost nothing to correct.
Styles & brands we work with
- Kitchen remodeling
- Bathroom remodeling
- Home additions & ADU
- Roofing
- Windows & doors
- Driveway & pavers
- Fence
Table of Contents
- The Correct Sequence of a Bathroom Tile Installation
- The Waterproofing Inspection Moment (and the Photos to Take)
- In-Progress Warning Signs During Active Construction
- Permits and Inspections: What “Passed” Actually Means
- Final Walkthrough Red Flags You Can Spot in Five Minutes
- Your Leverage Before Final Payment vs. After
- Henderson-Specific Issues We See Again and Again
The Correct Sequence of a Bathroom Tile Installation
If you know the order, you can tell whether a crew is rushing. Tile doesn’t go up on a whim; it’s the last thing that happens in a wet area, and everything before it is what keeps the room dry. Here’s the sequence a competent crew follows, and the point at which each step can be faked.
- Demo and substrate inspection. Old tile and backer come out, and the framing gets checked for rot or water damage. This is the moment to address any soft wood before it gets covered.
- Rough-in plumbing and electrical. Valve bodies, drain lines, and any new outlets or fan wiring go in before walls close. If these move after waterproofing, the membrane gets compromised.
- Permit inspection of the rough-in. Most jurisdictions require the framing, plumbing, and electrical to be inspected before walls are closed. Skipping this is a red flag with real consequences at resale.
- Cement board or foam backer installation. The substrate goes up over the framing. The joints and corners get taped and treated.
- Waterproofing membrane. A liquid-applied or sheet membrane covers the substrate, the corners, the curb, and the seams. This is the step that gets skipped when nobody’s watching.
- Flood test or membrane inspection. Some crews flood-test a shower pan for 24 hours; at minimum, the homeowner should lay eyes on the cured membrane before tile.
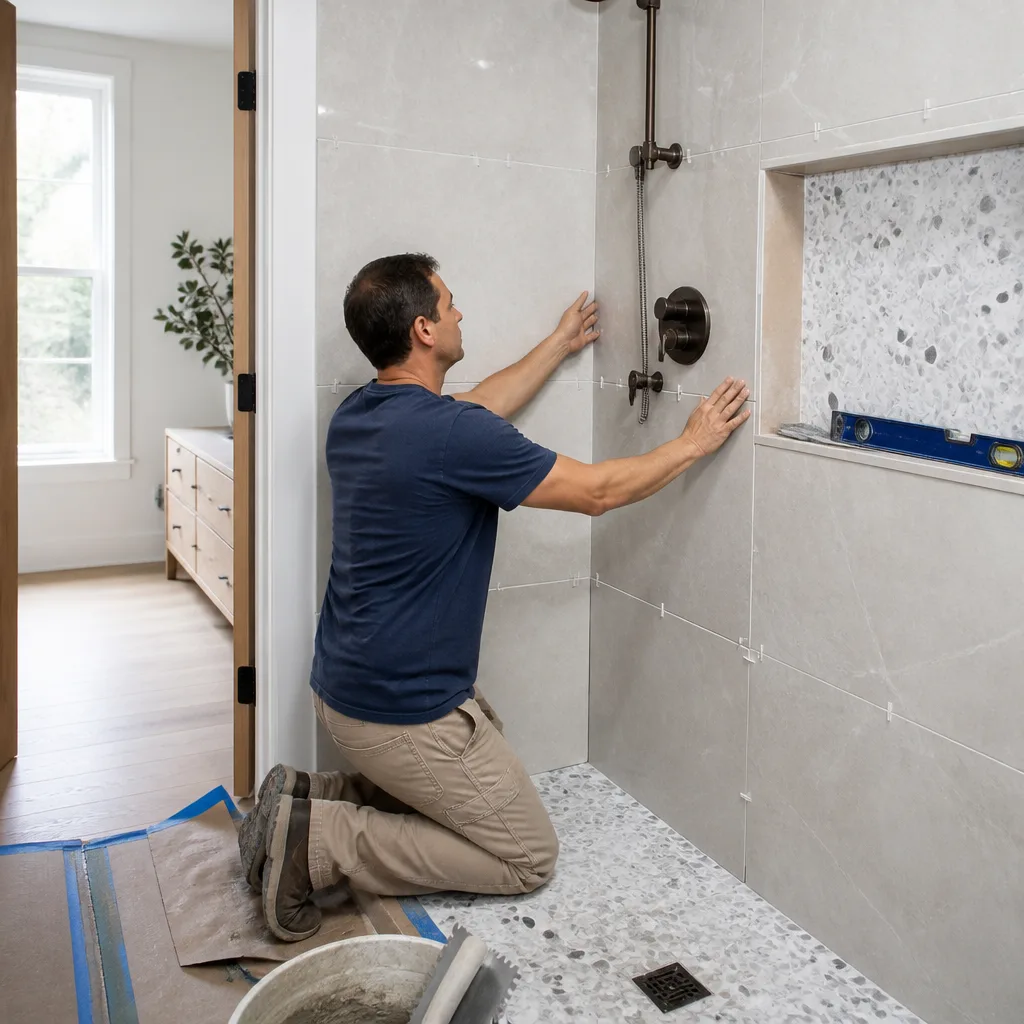
- Tile setting and grouting. Only now does tile go up, followed by grout once the thinset cures.
- Fixture trim-out and caulking. Faucets, showerheads, drains, and the final caulk lines go in after tile is complete.
Ask your crew at the start which steps they’ll walk you through. A crew that can name them without hesitation knows the sequence. One that says “we just handle it” is asking you to trust a process you can’t verify. For a fuller picture of how a permitted project should run end to end, our Bathroom Remodeling in Henderson page covers the phases from demo to final inspection.
The Waterproofing Inspection Moment (and the Photos to Take)
This is the single most important moment of your project. Once tile covers the substrate, no one can confirm whether the membrane exists, whether it was applied to the correct thickness, or whether the corners and seams were treated. Waterproofing defects rarely show up in the first year. They show up two to four years in, when water has quietly worked its way to the subfloor or the ceiling below.
Ask your contractor for a walkthrough at the waterproofing stage, before any tile is set. Then do the following:
- Look at the corners and seams. A proper liquid membrane shows a continuous, even film with reinforced fabric at inside corners and seams. Gaps, thin patches, or a “we’ll hit that later” answer are problems.
- Check the shower curb. The membrane should wrap over the curb, not stop at the floor. Curbs are a common leak point.
- Check the niche and bench, if any. These are also frequent leak points and must be waterproofed like the walls.
- Take dated photos. Shoot close-ups of every corner, the curb, the drain flange, and the niche. A wide shot of the whole shower helps establish the context.
- Confirm the drain was set correctly. The drain flange should be integrated with the membrane, not just screwed into the subfloor.
- Ask about flood testing. A shower pan that holds water for 24 hours without loss is a strong signal the pan was built right.
Save those photos to your phone or cloud storage. They’re useful if you ever sell the home and need to show a buyer the shower was built correctly. In our experience working Henderson bathroom remodels, the photos are the difference between resolving a dispute in a week and living with a leak for years.
In-Progress Warning Signs During Active Construction
Some crews do good work and treat your home poorly. Others treat your home well and cut corners on the work. Watch for both, because both cost you in the end. Here’s what to look for while the job is still running.
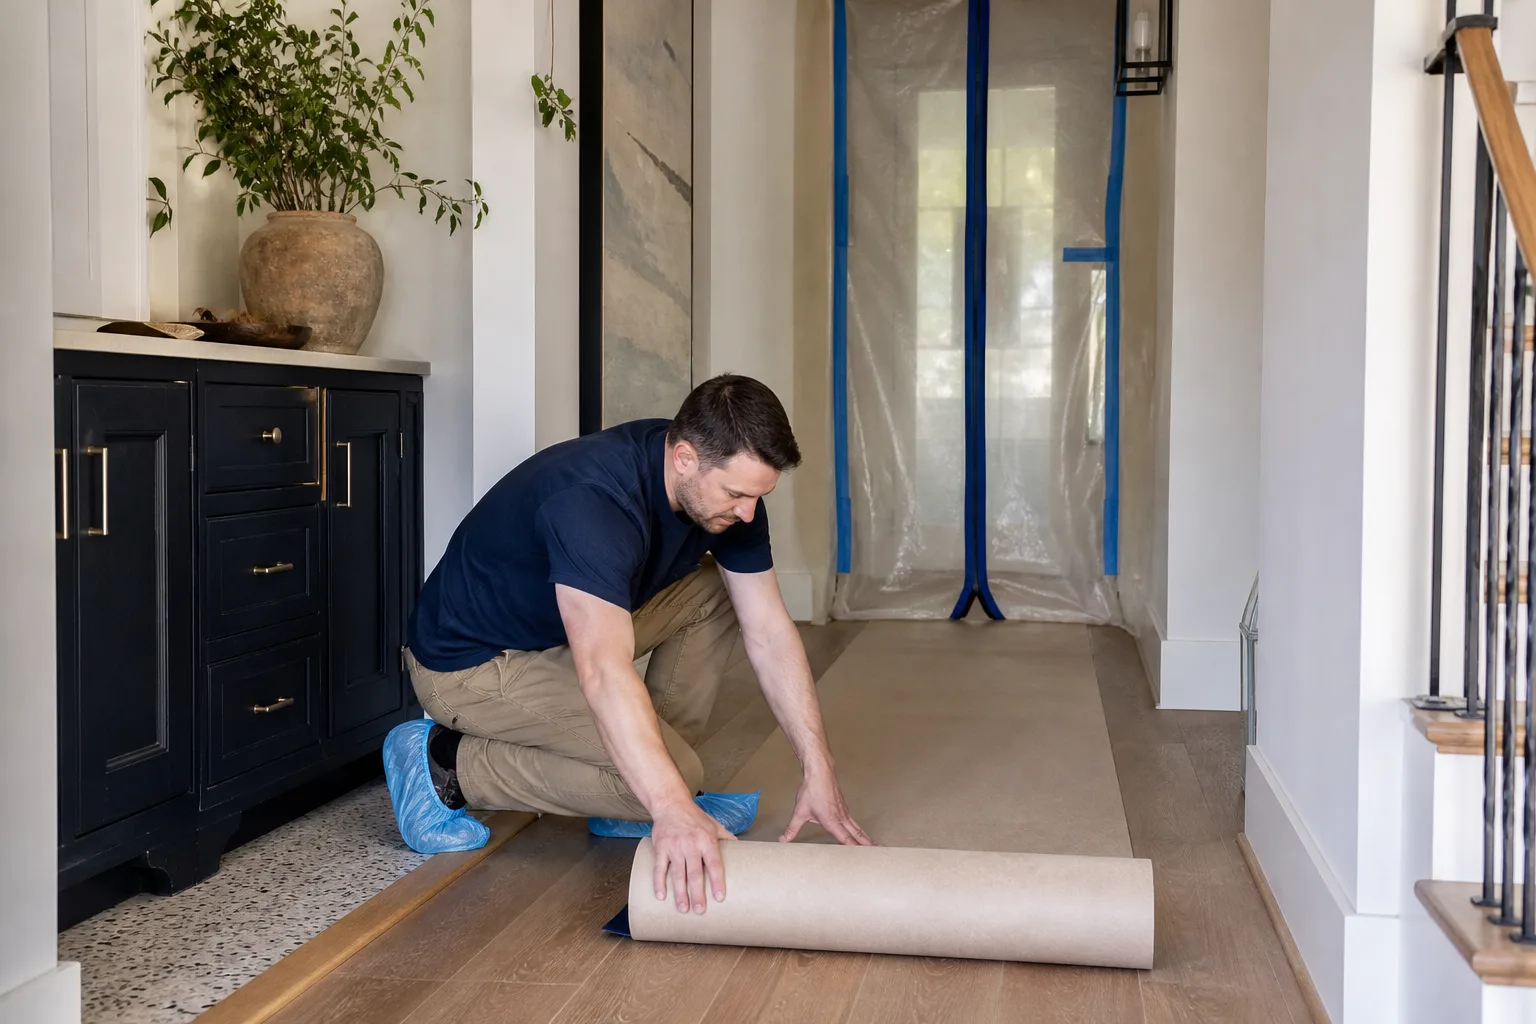
- No protection on existing surfaces. Floors, doorways, and adjacent rooms should be covered with drop cloths, rosin paper, or protective board. A crew that tracks dust into every room is telling you how they’ll treat your punch list.
- No daily cleanup. Debris and tools should be picked up at the end of each day, not piled in the hallway. If the crew leaves the site looking worse than the day before, ask why.
- Work proceeding without passed inspections. If the rough-in plumbing or electrical hasn’t been inspected, tile should not be going up. Ask to see the inspection card or sign-off.
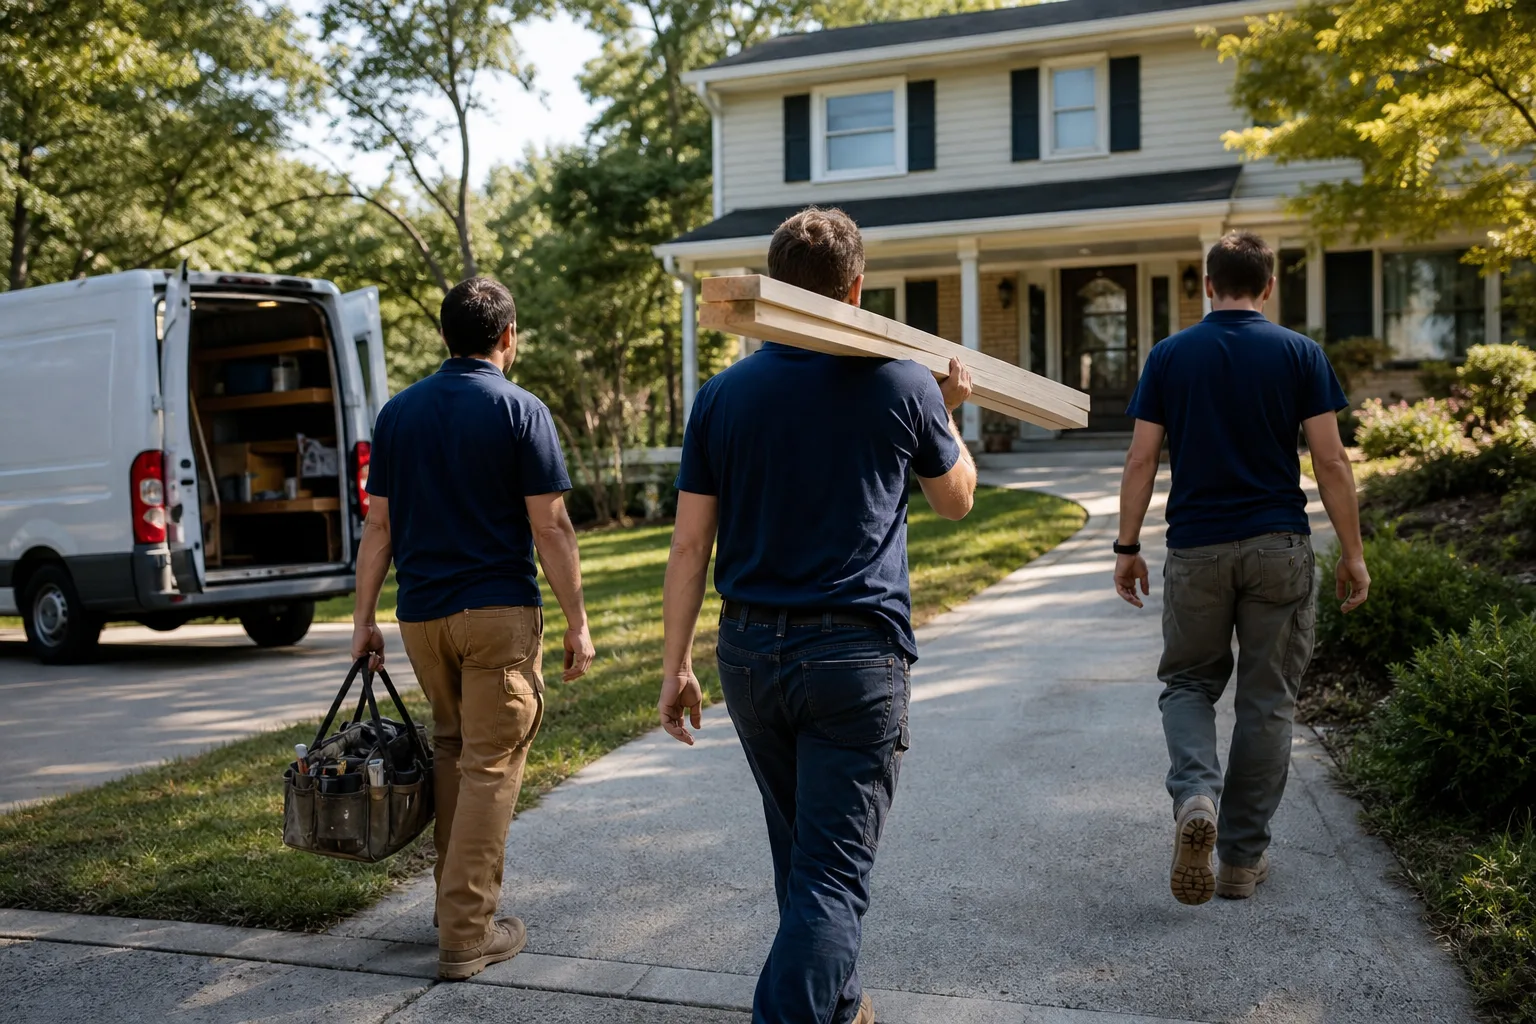
- Crews who can’t tell you who’s arriving. Every person who comes to your door should be identifiable. If you don’t know the name of the person walking into your home, that’s a problem you can solve by choosing a contractor with a verification process. At Mason Remodeling, we operate under The Threshold Standard: every technician is background-checked, identity-verified, arrives in a uniform, and you receive the technician’s name and photo before the visit, plus a photo ID badge at the door.
- New faces every day with no introduction. A rotating cast of unknown subcontractors without a lead on site is a warning sign.
- “We’ll finish that later” on rough-in items. Valves, drains, and electrical should be complete before walls close.
- Nobody on site to answer questions. You should always have a single point of contact. If the person who quoted the job disappears once work starts, so does your leverage.
A project that follows a clean process tends to look clean on site. Our General Contractor in Henderson page goes deeper on what a well-run jobsite should look like from day to day.
Permits and Inspections: What “Passed” Actually Means
A bathroom remodel isn’t just tile and paint. It involves plumbing and electrical work that must be permitted and inspected in most jurisdictions. A contractor who tells you a permit “isn’t needed for a small bathroom” is telling you they don’t want your job inspected. That’s a warning sign whether or not your local code technically requires one.
What “passed” actually means: the rough-in plumbing, electrical, and framing have been inspected by the local authority before walls close, and the final inspection has been completed after finish work. For your own protection, ask to see the inspection card and the permit number. Look up the permit record yourself if you want to. It’s public information in most areas, and it protects you at resale.
We’ve seen Henderson homeowners discover after the fact that their shower was never permitted, which means a future buyer’s inspector will flag it. The fix at that point is expensive: opening the wall, redoing the rough-in, and paying for the inspection. Get the paperwork right while the walls are open. If you live outside Henderson city limits and your project is in unincorporated Clark County, the permit process may differ slightly, so confirm with the contractor which authority has jurisdiction.
For a full-kitchen project with similar permitting rules, our Kitchen Remodeling in Henderson page covers the same inspection logic at kitchen scale.
Final Walkthrough Red Flags You Can Spot in Five Minutes
The final walkthrough is your last chance to correct problems before release of the final payment. Give yourself time for a slow, deliberate inspection. The five-minute version below catches most of the common issues.
- Grout lines aren’t uniform. Widths should be consistent wall to wall. Wavy grout lines on a flat wall usually mean the tile wasn’t set flat.
- Caulk is used where grout belongs. In corners (where two planes meet) caulk is correct because the assembly moves. On flat wall-and-floor transitions, straight grout is correct. If you see caulk smeared across flat areas, that’s an attempt to hide a bad grout job.
- Fixtures aren’t fully seated. Turn on every faucet. Run the shower and check for drips at the base of the showerhead arm, the valve trim, and the tub spout. A wobble at the base is a red flag.
- Doors and drawers don’t swing cleanly. Open and close the vanity doors all the way. Run the drawers in and out. Hinges that bind or drawers that catch on a neighbor are not normal.
- Toilet rocks or wobbles. A toilet that rocks means the flange wasn’t shimmed properly or the subfloor is uneven.
- Tile sounds hollow. Tap a few tiles with the back of a screwdriver. A hollow sound can indicate a tile that isn’t fully bonded.
- Water doesn’t drain fully. Run the shower and floor drain. If water pools in a corner, the floor slope is wrong, and that’s a leak waiting to happen.
- Trim, thresholds, and transition strips are loose. The metal trim along an edge (a Schluter strip, if you want the trade name) should be fully seated. A loose edge catches a toe and pops off within a year.
Write down everything you find. The walkthrough isn’t the time to be polite. It’s the time to be thorough. Once you’ve paid in full, your leverage drops sharply, which brings up the final point.
Your Leverage Before Final Payment vs. After
The single biggest mistake homeowners make is paying in full before the punch list is signed off. Before final payment, you have real leverage: the contractor needs the money to close the job, and any unresolved punch list items become urgent. After final payment, you’re relying on goodwill, and goodwill fades when the next job starts.
Here’s how to protect yourself:
- Insist on a written punch list. Every item you found on the walkthrough gets a line in writing, with a target completion date. A verbal “we’ll take care of that” is not a punch list.
- Hold back a meaningful final payment until the list is resolved. The exact amount should be spelled out in the original contract, but a common arrangement is to hold back the final payment (often 5% to 10% of the total) until the punch list is signed off.
- Confirm the warranty terms in writing before you pay. What’s covered, for how long, and what’s excluded should be in a written document, not a verbal promise. At Mason Remodeling, every completed project is covered by a written guarantee, and we apply a 365-Day Done Right Promise: if the work isn’t right within a year of completion, we make it right at no cost to you.
- Keep the waterproofing photos, the permit records, and the signed punch list together. If a problem surfaces in year two, you’ll have the documentation to resolve it.
- Get the final walkthrough in writing. Both parties should sign the same document. If a contractor resists, that itself is a warning sign.
We carefully avoided the “does everything look good?” question as your only walkthrough. A homeowner says yes when they don’t know what to check. A written punch list solves that.
Henderson-Specific Issues We See Again and Again
Some bathroom problems follow the local market. In Henderson, we see a few patterns repeatedly. The first is hard water. Southern Nevada water carries a high mineral content, which means fixtures and shower enclosures scale quickly. A budget fixture set in a hard-water home often looks worn out in a year. That’s why we lean toward fixtures with finishes that hold up, like Kohler, Moen, Toto, and Grohe, rather than trying to save on the parts you’ll see every day.
The second is tile and grout movement. Henderson homes on expansive soil can shift subtly, and bathroom floors are a common place to see it as cracked grout or popped tiles. A well-built shower accounts for this with the right substrate and with caulk at movement joints. A crew that grouts every joint on the floor, including the perimeter, is setting the floor up for cracks.
The third is ventilation. Henderson summers are dry, but showers still push moisture into the air, and a bathroom fan that’s undersized or vented into the attic instead of outdoors will eventually show up as mold near the ceiling or on the back of the closet wall. Verify the fan vents outdoors before drywall goes up. It’s a small detail that becomes a big remediation job later.
If you’re tackling more than one room at once, our Mason Remodeling Co Henderson home page lays out how whole-home projects are sequenced so the bathroom isn’t blocked behind the kitchen.
Common Mistakes to Avoid
- Approving tile before seeing the waterproofing. You can’t verify what you never saw. Ask for the waterproofing walkthrough before tile is set, even if it feels awkward.
- Hiring on verbal estimates. A verbal estimate grows on the final bill. Insist on a written price before any work begins. At Mason Remodeling, a written price is delivered before any work starts, on every project, never as an upgrade.
- Skipping the permit to save a little money. Unpermitted work costs more when you sell. The buyer’s inspector will flag it, and you’ll pay to open the walls and redo the inspection.
- Letting folks into your home without an introduction. For a parent with young children or an older adult living alone, who’s coming through the door is a safety decision. Choose a contractor who gives you the technician’s name and photo before the visit, and a photo ID badge at the door. That’s The Threshold Standard, and it’s applied on every Mason Remodeling job.
- Paying in full before the punch list is signed off. Hold back the final payment until every item on the written punch list is resolved and signed by both parties.
- Grout used where caulk belongs (or the reverse). Corners get caulk because they move. Flat surfaces get grout. A crew that can’t tell the difference will give you cracked corners in year one.
- Assuming hard water won’t affect the build. Henderson’s water is hard on fixtures and grout. Choose fixtures with finishes that hold up and grout that’s sealed at install.
See the difference
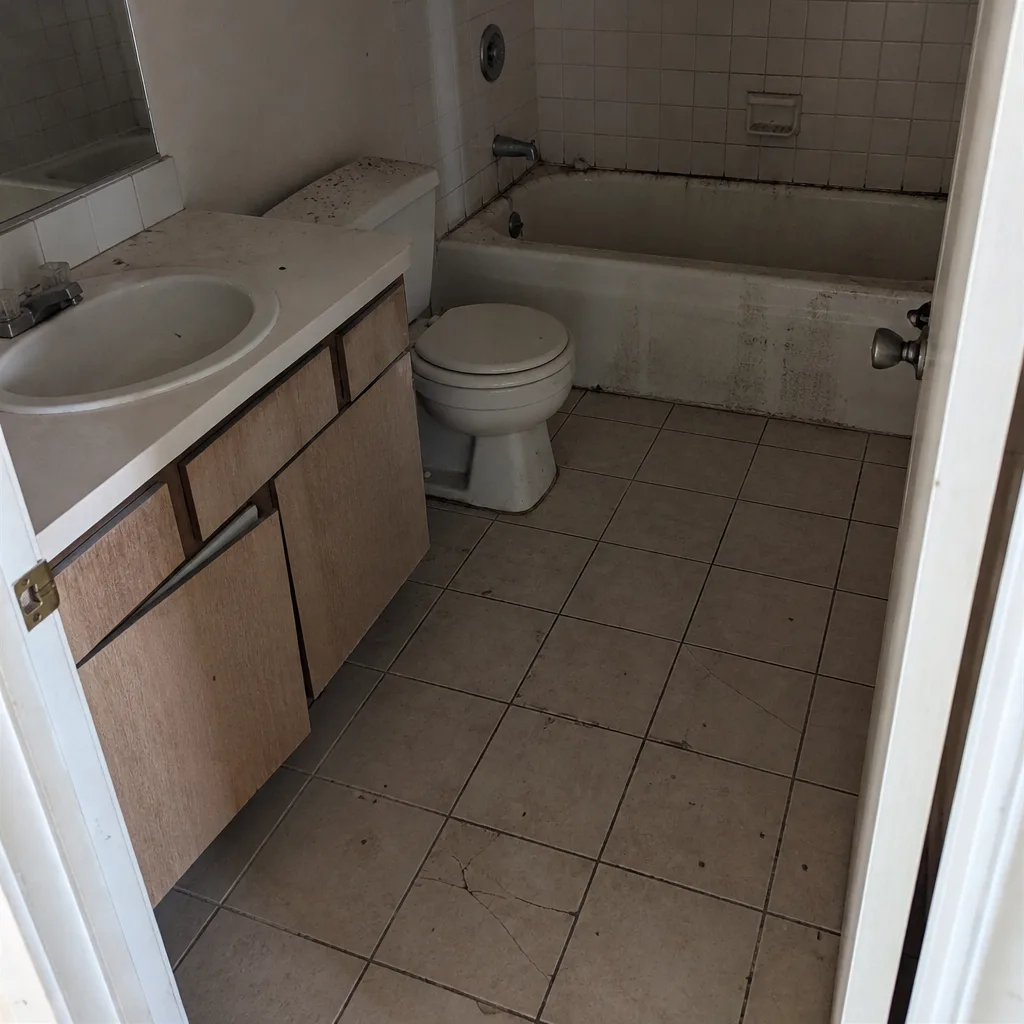 Before
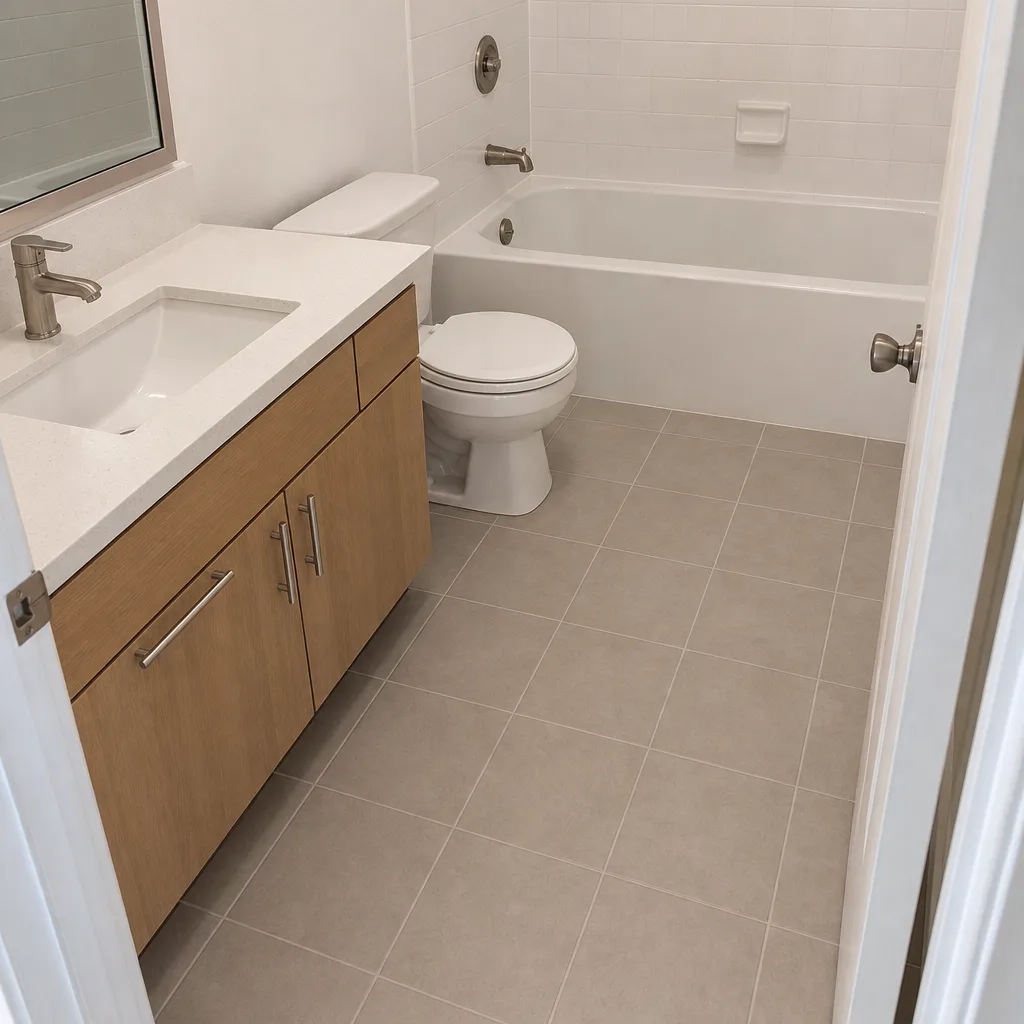 After
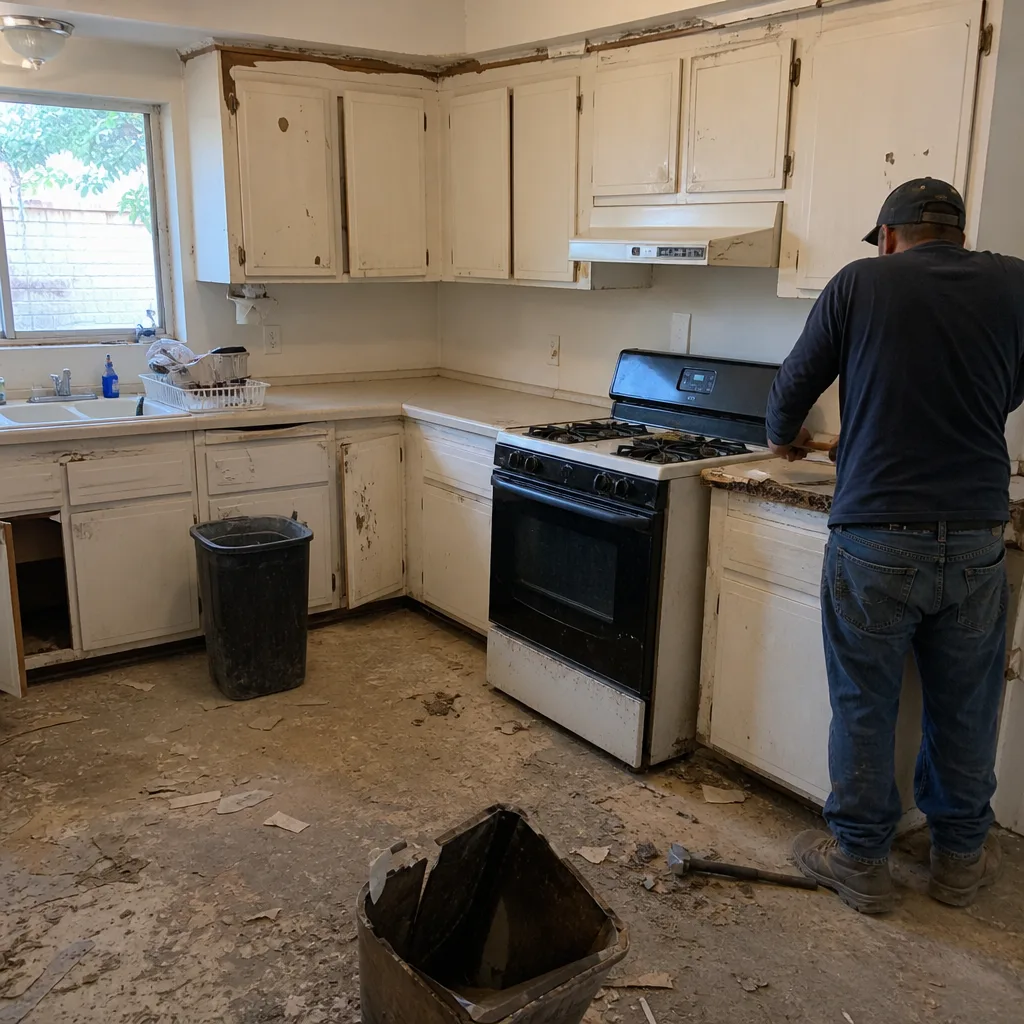 Before
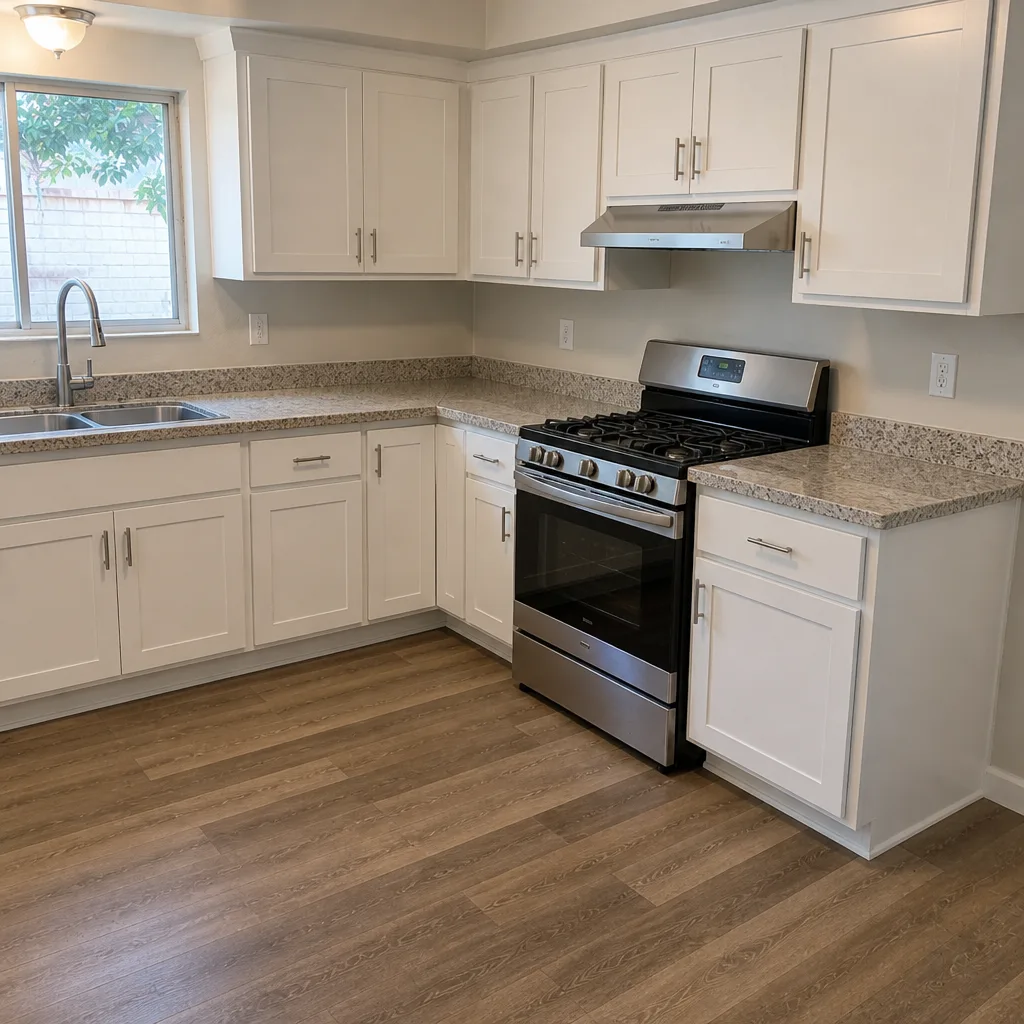 After
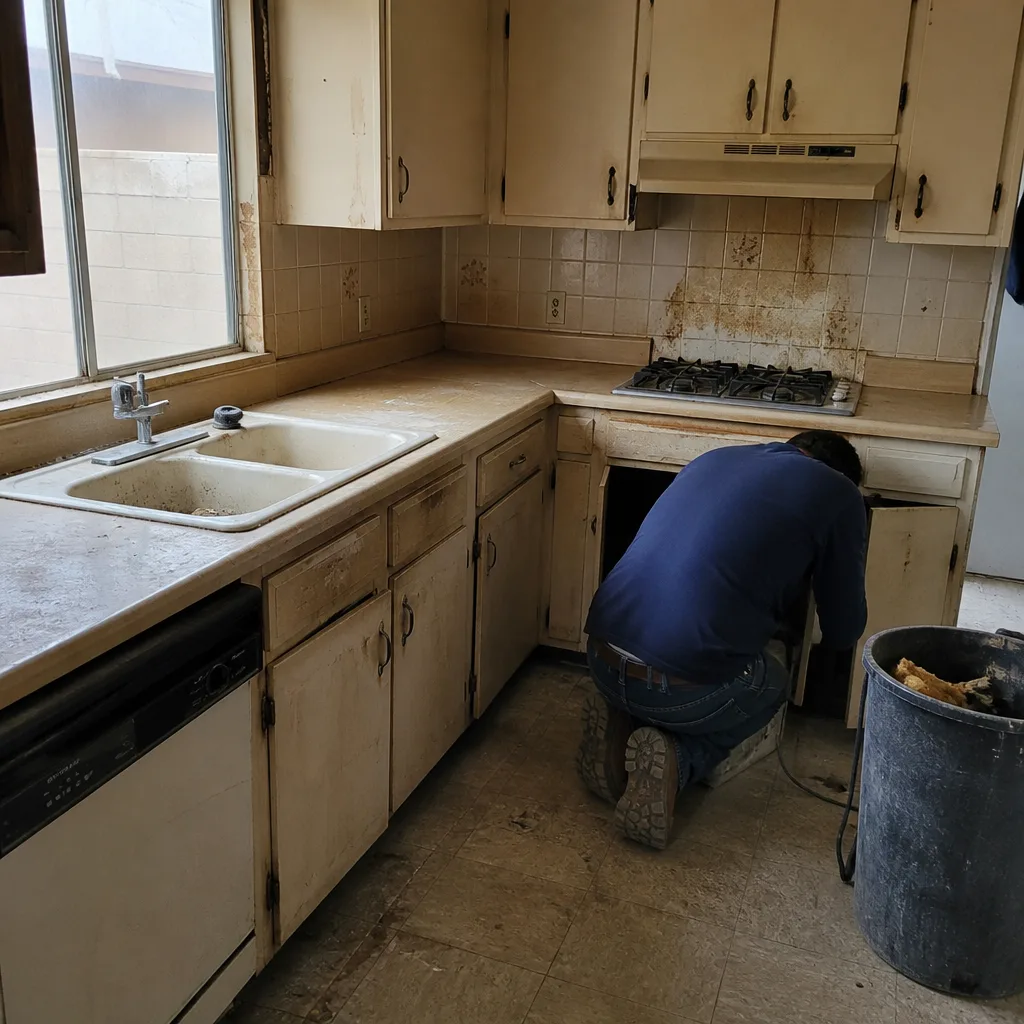 Before
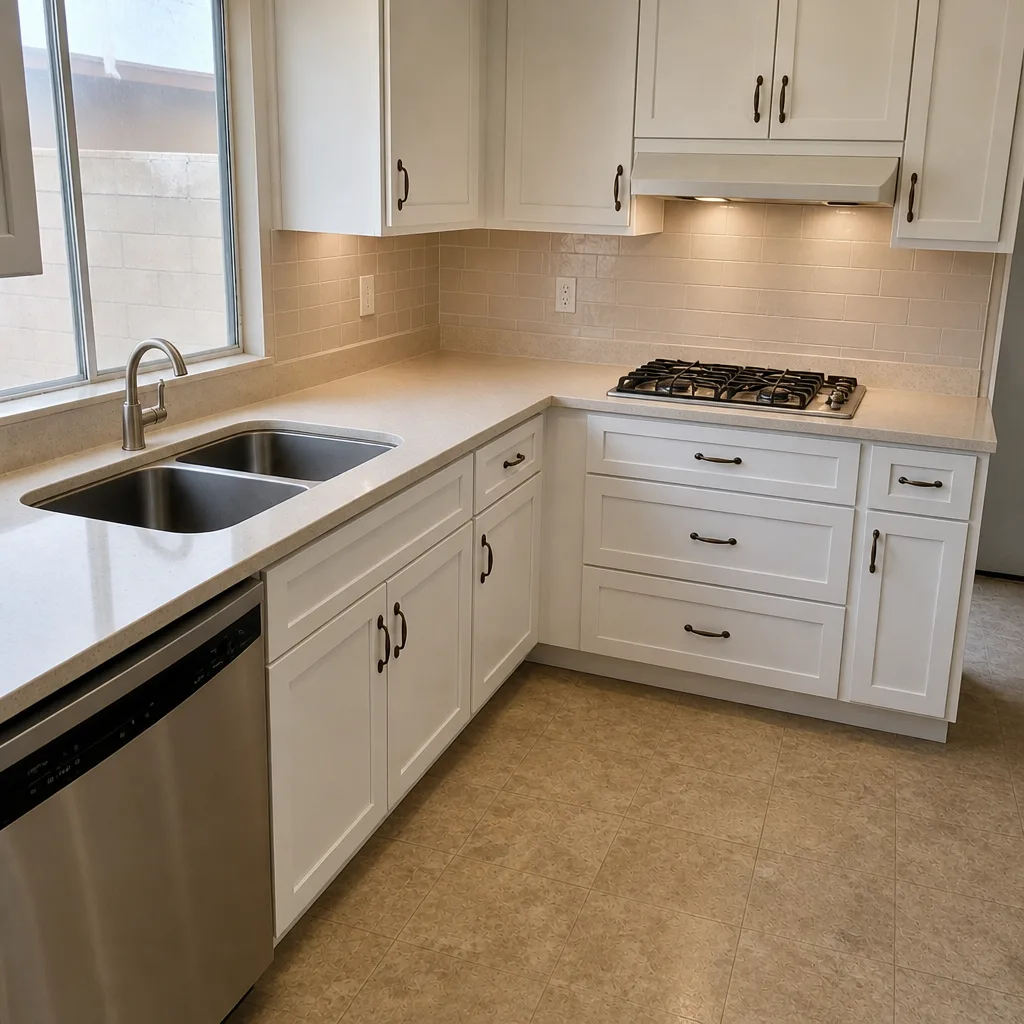 After
When to Call a Professional
Some signs are catchable mid-project. Others show up years later and need a different kind of attention. Call a professional if you’re seeing any of the following: a soft spot on the bathroom floor or subfloor near the shower, a musty smell that doesn’t go away with the fan, water staining on the ceiling below the bathroom, cracked grout along the shower perimeter that reappears after regrouting, or a wobbly toilet that keeps coming loose.
If you’re mid-project and you’ve discovered a problem, get a second opinion before releasing final payment. Mason Remodeling Co Henderson offers free estimates in Henderson. Call (888) 325-9386 for a free estimate. We’ll look at the work, explain what we see, and put our findings in writing so you have a clear path forward.
Frequently Asked Questions
The clearest signs are skipped or unverified waterproofing behind tile, uneven grout lines, caulk in places where grout belongs, wobbly fixtures, doors and drawers that don’t swing cleanly, and work that proceeded without inspections. Catch these before final payment and most problems cost nothing to correct. Call (888) 325-9386 if you want a second opinion on a completed job; estimates are free.
Yes, and you should. Ask for a walkthrough at the waterproofing stage before any tile is set. Look for continuous membrane at corners and seams, membrane that wraps over the shower curb, and a properly integrated drain flange. Take dated photos of every corner, the curb, the niche, and the drain. If your contractor says tile has to go up right away, that’s a warning sign.
In the Henderson market, a typical hall bath runs roughly $9,000 to $18,000, while a primary bath with a larger footprint, a walk-in shower, and upgraded tile often lands in the $18,000 to $35,000 range. The variables that move the number most are tile selection, whether the rough-in plumbing moves, and fixture grade. Call (888) 325-9386 for a written price on your specific project; estimates are free and there’s no charge for the quote.
It shouldn’t. A written price, not a verbal estimate, is what protects you. At Mason Remodeling, a written price is delivered before any work starts, on every project. If something unexpected turns up once the walls are open, it gets discussed and priced before it goes forward. Never accept a verbal estimate that grows on the final bill.
Yes. Permits and inspections are part of the job, not an optional extra. Ask to see the inspection card and permit number once work begins, and confirm the local authority with jurisdiction (Henderson city versus unincorporated Clark County). If your contractor says a permit isn’t needed for your project, ask why in writing. Call (888) 325-9386 if you’re not sure whether your project needs one.
On every Mason Remodeling job, you get the technician’s name and photo before the visit, and every crew member wears a clean uniform and shows a photo ID badge at the door. That’s The Threshold Standard, and it applies on every project. It matters whether you’re a parent with young children, an older adult living alone, or anyone for whom opening the door to a stranger is a real decision. Call (888) 325-9386 to schedule; a live person answers every call, 24 hours a day, every day of the year.
The Bottom Line
Bathroom remodeling failures rarely announce themselves. They sit behind tile, under cement board, and in the gap between what was promised and what was installed. The homeowners who avoid those problems are the ones who know the sequence, ask to see the waterproofing before it’s covered, watch the jobsite as work progresses, and hold back final payment until a written punch list is signed. That’s how you keep the leverage in your hands. If you’re planning a bathroom project in Henderson or you want a second opinion on a job that’s already running, call Mason Remodeling Co Henderson at (888) 325-9386 for a free estimate.
Written by the team at Mason Remodeling Co Henderson.